
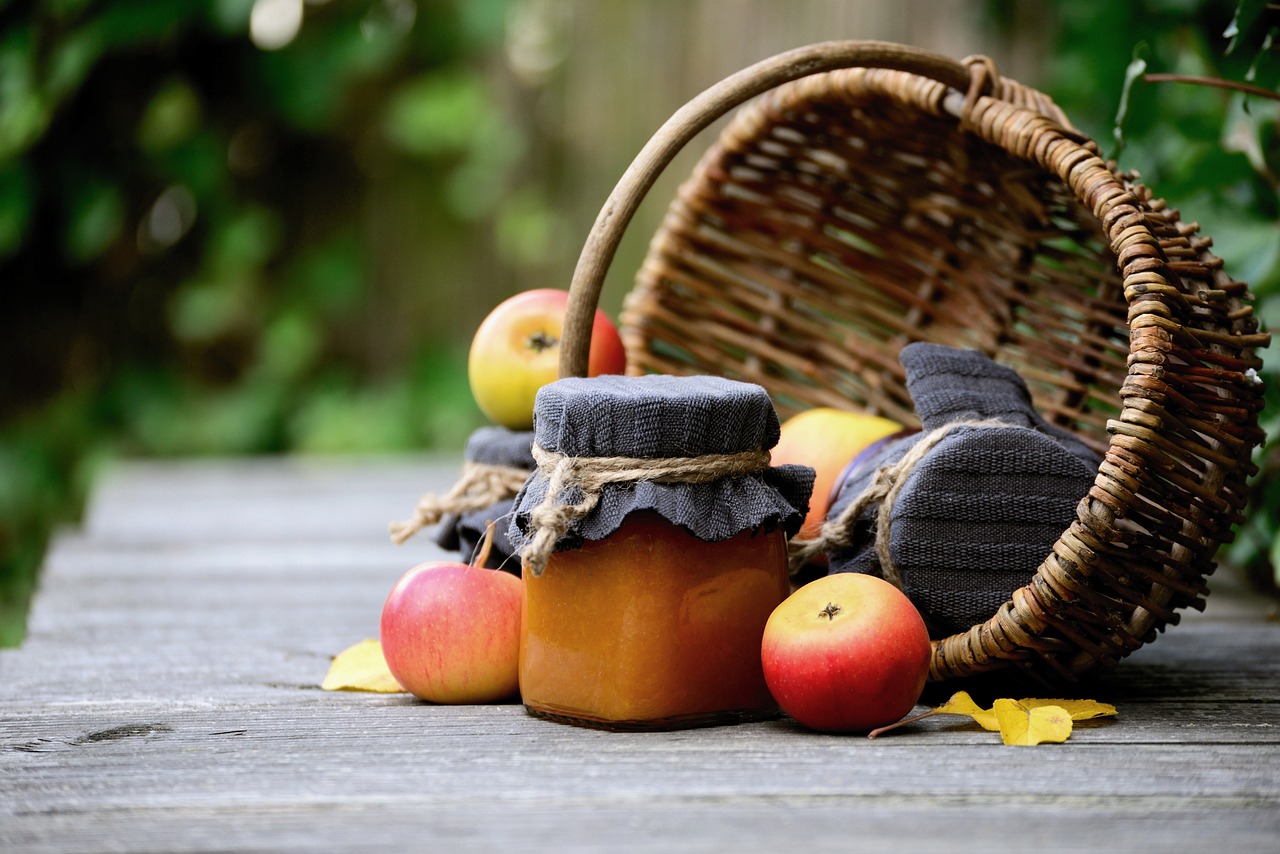
Conserving Water with Eco-Friendly Gardening Techniques
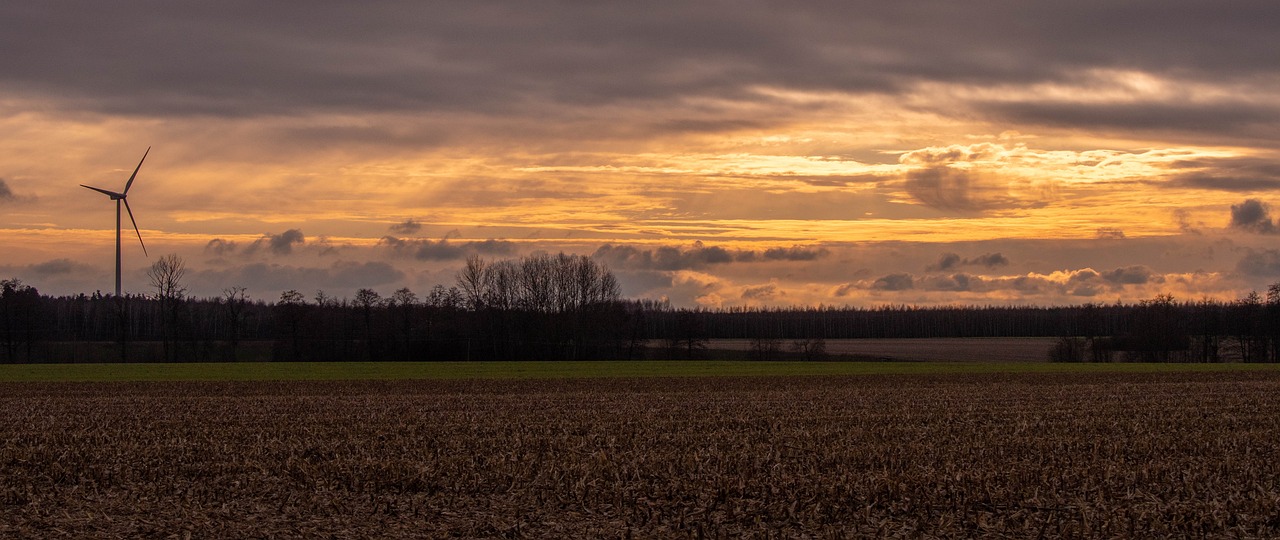
In an age where water scarcity is becoming increasingly prevalent, conserving water has never been more crucial, especially in gardening. By adopting eco-friendly gardening techniques, not only can we help protect our planet, but we can also create lush, vibrant gardens that thrive with minimal water. Imagine a garden that not only blooms beautifully but also contributes positively to the environment—sounds like a dream, right? Well, with the right strategies, this dream can become a reality!
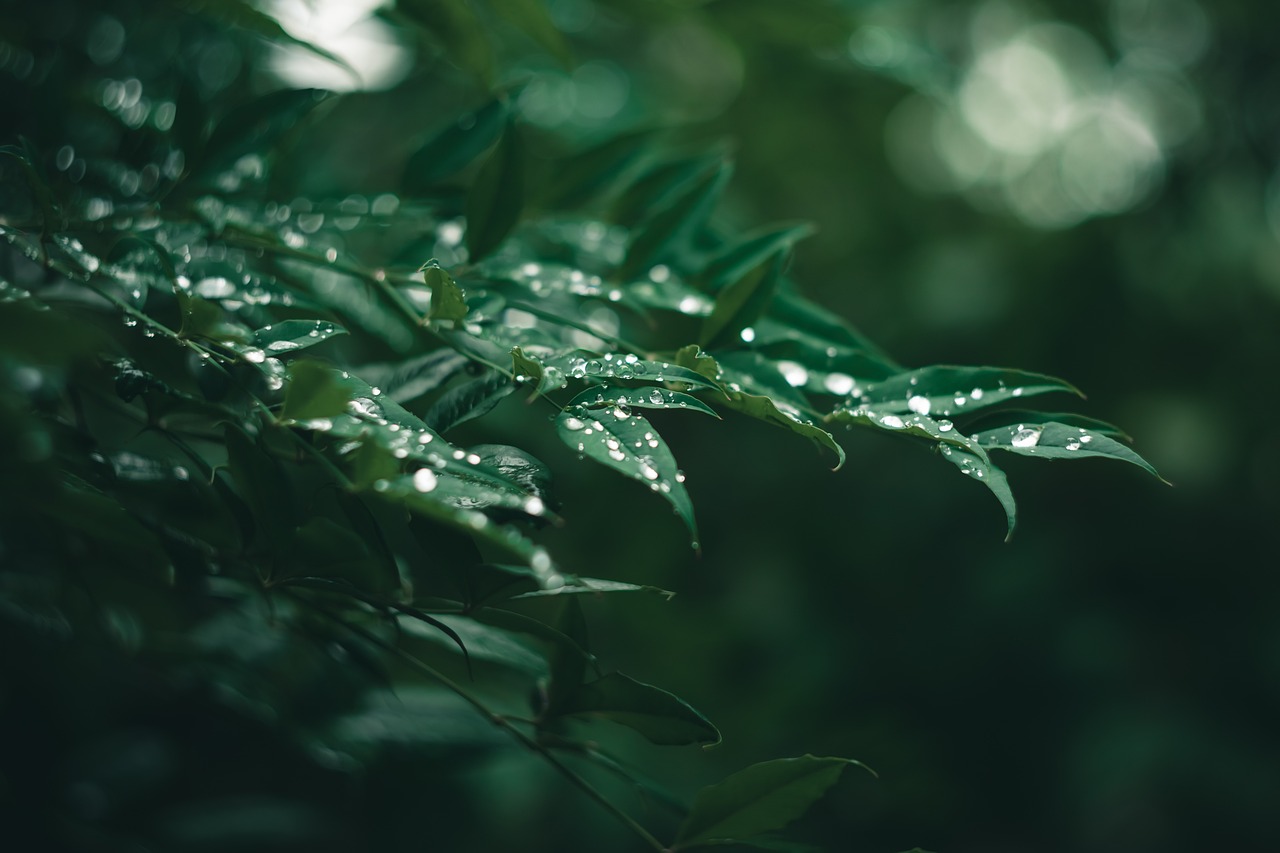
So, what exactly does it mean to garden in an eco-friendly manner? It’s about understanding the importance of water conservation and implementing practices that reduce water usage while enhancing the health of your plants. By being mindful of how we use water in our gardens, we can significantly impact local ecosystems and water resources. Think of your garden as a mini-ecosystem; every drop of water counts, and every decision you make can either help or hinder its health. Let’s dive into some practical methods and tips that will not only help you conserve water but also create a thriving garden!
Water conservation isn’t just a trendy buzzword; it’s a necessity for sustainable gardening. The reality is that traditional gardening practices often lead to excessive water usage, which can deplete local water resources and harm ecosystems. By understanding the significance of water conservation, we can make more informed choices that benefit both our gardens and the environment. For instance, did you know that a single garden can consume hundreds of gallons of water a week? By adopting water-efficient practices, we can drastically reduce this number.
Moreover, conserving water in our gardens helps to protect local wildlife and habitats. When we use less water, we reduce the demand on municipal water supplies, allowing more water to remain in rivers, lakes, and wetlands. This is essential for maintaining biodiversity and supporting the creatures that rely on these habitats. So, the next time you're watering your garden, remember that each drop is precious, and consider how you can use it more wisely.
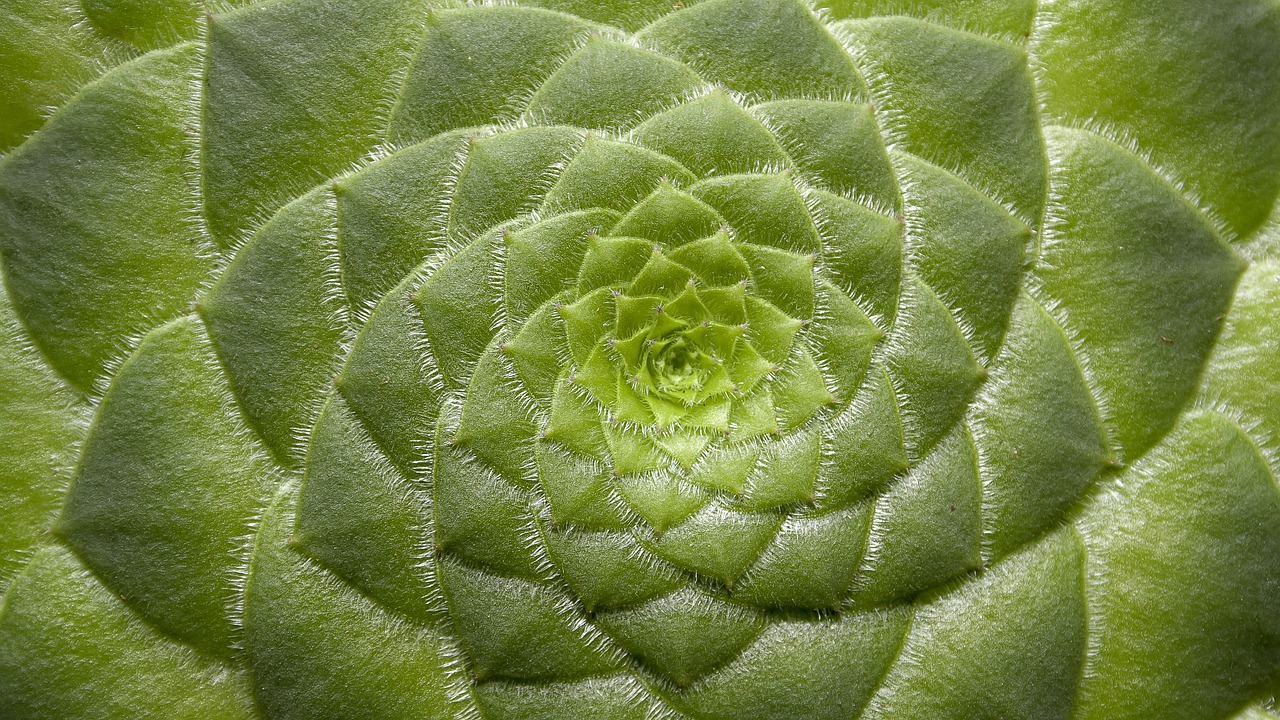
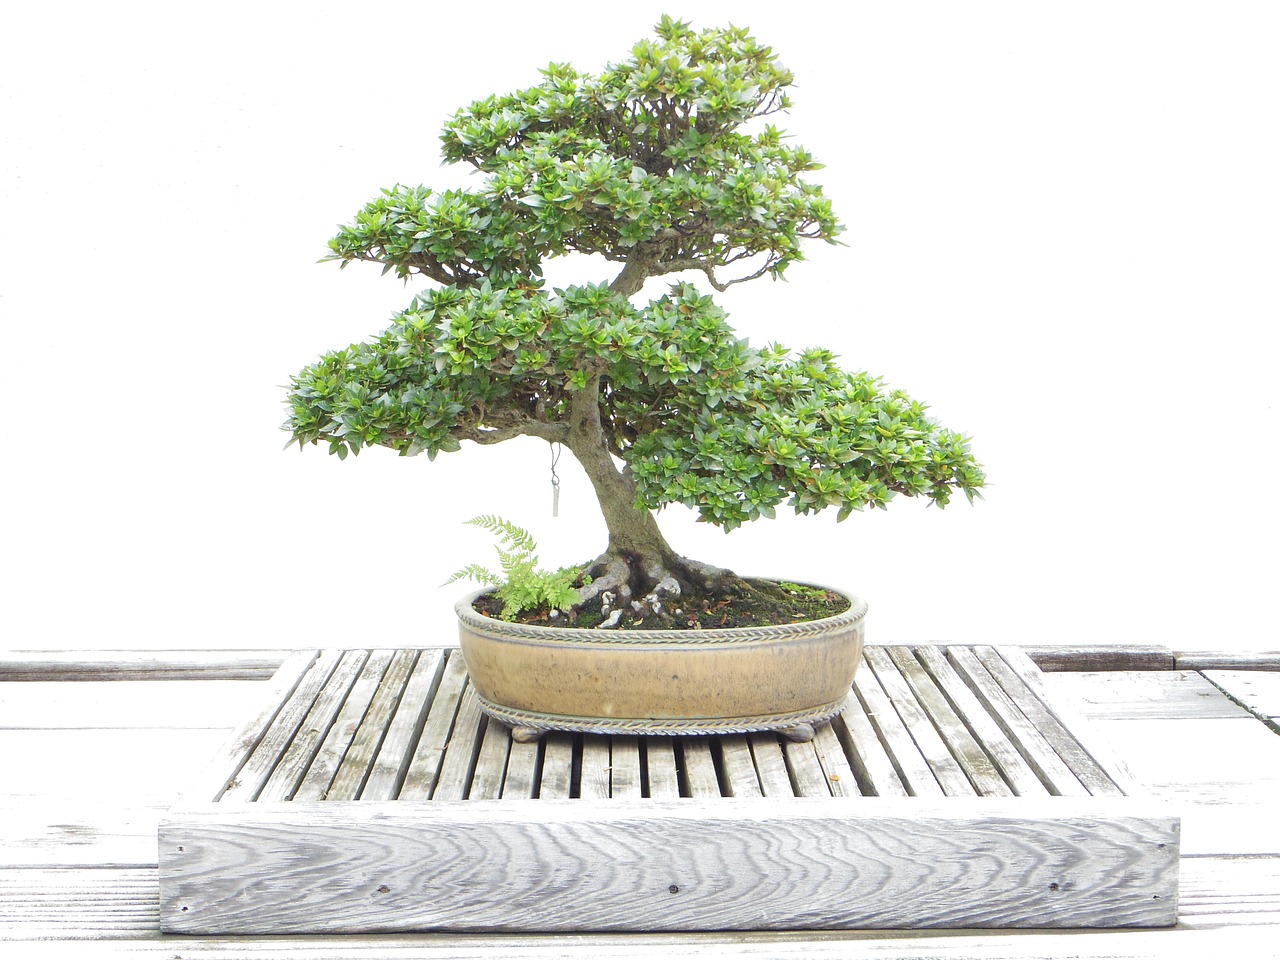
One of the most effective strategies for conserving water in your garden is to choose native plants. Native plants are perfectly adapted to your local climate and soil conditions, meaning they require significantly less water than non-native species. Imagine planting a flower that thrives on the natural rainfall of your area—sounds easy, right? These plants have evolved over time to withstand local droughts and floods, making them the perfect choice for an eco-friendly garden.
The benefits of incorporating native plants into your garden go beyond just water conservation. For starters, they often require less maintenance than non-native species, allowing you to spend less time gardening and more time enjoying your outdoor space. Plus, native plants support local wildlife, providing food and habitat for birds, bees, and butterflies. This creates a vibrant ecosystem right in your backyard!
Here’s a quick look at some popular native plants you might consider for your garden, depending on your region:
| Region | Native Plant Examples |
|---|---|
| Northwest | Western Red Cedar, Pacific Rhododendron |
| Southwest | Desert Marigold, California Poppy |
| Midwest | Black-eyed Susan, Purple Coneflower |
| Northeast | New England Aster, Butterfly Weed |
Designing a native plant garden is easier than you think! Start by researching which native species thrive in your area. Once you have a list, consider the layout of your garden—group plants with similar water needs together and create a diverse planting scheme. This not only enhances the beauty of your garden but also ensures that your plants receive the right amount of moisture. As you plant, remember to mulch around your new additions to help retain moisture and suppress weeds.
Now that you understand the importance of native plants, let’s explore some other water-efficient gardening techniques that can significantly reduce your water usage:
- Mulching: A layer of mulch helps to reduce evaporation from the soil, keeping your plants hydrated for longer.
- Drip Irrigation: This method delivers water directly to the roots of your plants, minimizing waste.
- Rainwater Harvesting: Collecting and using rainwater is a sustainable way to provide moisture to your garden.
By implementing these techniques, you can create a water-efficient garden that not only thrives but also contributes to a healthier planet. Remember, every small change can lead to significant impacts over time!
Q: How much water can I save by using native plants?
A: Native plants can reduce your water usage by up to 50% compared to non-native species.
Q: What is the best time to water my garden?
A: Early morning is the best time to water, as temperatures are cooler and evaporation is minimized.
Q: Can I use a rain barrel in any climate?
A: Yes, rain barrels can be used in any climate; just ensure you have a method to collect rainwater effectively.

Understanding Water Conservation
Water conservation is not just a trendy buzzword; it's a vital practice that impacts our environment and future. In a world where water scarcity is becoming increasingly common, understanding the importance of conserving this precious resource is essential for anyone interested in gardening or sustainability. By adopting eco-friendly gardening techniques, we can significantly reduce our water usage while still enjoying a vibrant and flourishing garden.
Every drop counts! Did you know that traditional gardening practices can lead to excessive water waste? This waste not only depletes our local water sources but also affects the surrounding ecosystems. When we overwater our gardens or use inefficient irrigation methods, we contribute to runoff that can carry pollutants into nearby rivers and streams. This is where the significance of water conservation comes into play. By implementing smarter gardening practices, we can help protect our local ecosystems and ensure that our gardens thrive sustainably.
So, what exactly does water conservation entail in the context of gardening? It involves a combination of strategies aimed at reducing water consumption while maintaining plant health. Here are some key aspects:
- Efficient Watering Practices: Utilizing techniques such as drip irrigation or watering in the early morning can minimize evaporation and ensure that water reaches plant roots effectively.
- Soil Health: Healthy soil retains moisture better, which means less frequent watering is needed. Improving soil structure through composting and mulching can enhance water retention.
- Plant Selection: Choosing native or drought-resistant plants can drastically cut down on the amount of water your garden requires.
Moreover, understanding the local climate and seasonal variations can also inform your gardening practices. For instance, during hot summer months, you might need to adjust your watering schedule to accommodate the increased evaporation rates. It's all about being mindful and making informed decisions that benefit both your garden and the environment.
In conclusion, water conservation is not merely an option; it's a necessity for sustainable gardening. By understanding its significance and implementing effective strategies, we can create beautiful gardens that thrive while respecting our planet's most vital resource. So, let's dig deep into the world of eco-friendly gardening techniques and discover how we can make a positive impact!

Choosing Native Plants
When it comes to creating a sustainable garden, one of the best decisions you can make is to choose native plants. These plants are like the locals of your garden—they're already adapted to the climate, soil, and wildlife of your area, making them a perfect fit for your eco-friendly gardening goals. Imagine trying to fit a square peg in a round hole; that's what non-native plants often do in unfamiliar environments. They can struggle to survive, requiring more water and care than their native counterparts.
By opting for native species, you’re not just conserving water; you’re also promoting biodiversity and supporting local ecosystems. Native plants have evolved alongside local wildlife, providing essential habitats and food sources for birds, bees, and other pollinators. Think of them as the backbone of your garden's ecosystem, creating a vibrant tapestry of life that thrives with minimal intervention.
But what exactly are the benefits of choosing native plants? Here are a few highlights:
- Low Maintenance: Native plants typically require less care than non-natives, as they’re already adapted to the local environment.
- Water Efficiency: They need less irrigation, which is a big win for water conservation.
- Enhanced Resilience: Native plants are more resistant to local pests and diseases, reducing the need for chemical treatments.
To give you an idea of how native plants can enhance your garden, let’s look at some examples that thrive in various regions:
| Region | Native Plant Examples |
|---|---|
| Northwest | Western Red Cedar, Oregon Grape |
| Southwest | Desert Marigold, California Poppy |
| Southeast | Black-eyed Susan, Coneflower |
| Northeast | Bee Balm, Swamp Milkweed |
Creating a native plant garden is not just about planting a few local species; it's about designing a thriving ecosystem. Start by researching the native plants that best suit your garden conditions—think about sunlight, soil type, and moisture levels. Once you’ve selected your plants, lay them out in a way that mimics natural growth patterns. Group plants with similar water needs together to maximize efficiency and create a visually appealing landscape.
In conclusion, choosing native plants is a fantastic way to conserve water while enhancing your garden's health and beauty. They require less maintenance, support local wildlife, and are generally more resilient. So, why not embrace the locals and let them do the heavy lifting in your garden? You'll save water, time, and effort while creating a stunning habitat for both plants and wildlife.
Benefits of Native Plants
When it comes to creating a sustainable garden, native plants are like the superheroes of the gardening world. These plants have evolved over thousands of years to thrive in their specific environments, making them incredibly resilient and low-maintenance. One of the most remarkable benefits of native plants is their ability to conserve water. Unlike exotic species that often require copious amounts of water to flourish, native plants are well-adapted to local climate conditions, which means they need significantly less irrigation. Imagine having a garden that not only looks stunning but also saves you time and resources!
Furthermore, native plants play a crucial role in supporting local ecosystems. They provide essential habitats and food sources for a variety of wildlife, including birds, butterflies, and beneficial insects. By choosing native plants, you’re not just beautifying your space; you’re also enhancing biodiversity in your area. This is especially important as many non-native species can disrupt local ecosystems, leading to a decline in native wildlife populations.
Another fantastic aspect of native plants is their resistance to pests and diseases. Since these plants have coexisted with local pests for ages, they have developed natural defenses against them. This means you’ll spend less time worrying about chemical pesticides and more time enjoying your garden. Plus, using native species can significantly reduce the need for fertilizers, as they are adapted to the nutrient levels in your soil.
To illustrate the myriad benefits of native plants, consider the following table:
| Benefit | Description |
|---|---|
| Water Conservation | Native plants require less water compared to non-native species, making them ideal for sustainable gardening. |
| Biodiversity Support | They provide habitats and food for local wildlife, enhancing the ecological balance. |
| Pest Resistance | Native plants are more resistant to local pests, reducing the need for pesticides. |
| Low Maintenance | These plants typically require less care, saving you time and effort in your gardening routine. |
Incorporating native plants into your garden not only contributes to a healthier environment but also fosters a deeper connection with the local landscape. Imagine walking through your garden and knowing that every bloom and leaf is a part of the natural heritage of your area. It’s like having a little piece of nature right outside your door!
So, why not take the plunge? Start by researching which native plants thrive in your region and consider how they can fit into your garden’s design. The rewards will be plentiful, from vibrant blooms to a thriving ecosystem, all while conserving precious water resources. In essence, native plants are not just a choice; they are a commitment to a sustainable future.
- What are native plants? Native plants are species that naturally occur in a specific region, having adapted over time to the local climate and soil conditions.
- Why should I choose native plants for my garden? Native plants are low-maintenance, require less water, support local wildlife, and are generally more resistant to pests and diseases.
- How do I find native plants for my garden? You can find native plants at local nurseries, botanical gardens, or through conservation organizations that focus on promoting biodiversity.
- Are native plants more expensive than non-native plants? While some native plants may have a higher initial cost, their low maintenance and water requirements can save you money in the long run.
Examples of Native Plants
When it comes to creating a water-efficient garden, incorporating native plants is a game changer. These plants are not just beautiful additions to your landscape; they are also perfectly adapted to your local climate and soil conditions. This means they require significantly less water and maintenance compared to their non-native counterparts. By choosing native species, you’re not only saving water but also supporting your local ecosystem.
Let’s explore some popular native plants that thrive in various regions across the United States:
| Plant Name | Region | Water Requirements | Benefits |
|---|---|---|---|
| Black-eyed Susan | Midwest | Low | Attracts pollinators, vibrant yellow flowers |
| Eastern Redbud | Eastern U.S. | Moderate | Beautiful pink flowers, supports local wildlife |
| California Poppy | West Coast | Low | Low maintenance, drought-tolerant |
| Bluebell | Northeast | Moderate | Gorgeous spring blooms, attracts bees |
These are just a few examples, but the beauty of native plants is that they come in a variety of shapes, sizes, and colors, making it easy to find the perfect fit for your garden. For instance, if you live in a dry region, you might consider the California Poppy, which thrives with minimal water. On the other hand, if you’re in the Midwest, the Black-eyed Susan adds a splash of color while attracting essential pollinators.
Incorporating these plants into your garden not only enhances its aesthetic appeal but also creates a thriving habitat for local wildlife. Birds, butterflies, and beneficial insects all rely on native plants for food and shelter. By choosing wisely, you’re contributing to the health of your local ecosystem while also enjoying a garden that requires less water and care.
In summary, selecting native plants is a fantastic way to create a sustainable garden that conserves water and supports biodiversity. So, the next time you’re planning your garden, think local, think native, and watch your garden flourish with minimal effort!
- Why should I choose native plants for my garden? Native plants are more resilient, require less water, and provide habitat for local wildlife.
- How do I find out which native plants are suitable for my area? Consult local gardening centers or extension services to get recommendations specific to your region.
- Do native plants require special care? Generally, they are low-maintenance, but some may need occasional pruning or pest management.
Creating a Native Plant Garden
Creating a native plant garden is not just a rewarding endeavor; it’s a step towards promoting sustainability and enhancing biodiversity in your local ecosystem. To begin with, you need to understand the specific environmental conditions of your area, such as soil type, sunlight availability, and moisture levels. These factors will guide you in selecting the right native plants that will thrive in your garden without requiring excessive water.
Start by researching local native species that are well-suited to your climate. You can often find this information through local gardening clubs, extension services, or native plant societies. Once you have a list of potential plants, consider their growth habits and compatibility with each other. It's essential to create a diverse planting scheme that mimics natural ecosystems. This not only enhances the visual appeal of your garden but also provides habitats for local wildlife.
When planning your garden layout, think about grouping plants with similar water needs together. This technique, known as hydrozoning, allows you to manage irrigation more effectively and reduces water waste. For instance, place drought-resistant plants in sunny spots while shadier areas can host moisture-loving species. Additionally, incorporating layers of plants—such as tall species at the back and shorter ones in the front—will create a lush, visually appealing garden.
Before planting, prepare the soil by removing any weeds and adding organic matter, like compost, to improve its structure. This step is crucial as it enhances the soil's ability to retain moisture, providing a better environment for your native plants. Once the soil is ready, dig holes for your plants, ensuring they are spaced appropriately to allow for growth. After planting, give them a good watering to help them establish their roots.
To maintain your native plant garden, consider applying a layer of mulch. Mulch not only conserves moisture but also suppresses weeds, reducing competition for resources. As your plants grow, they will require less water, as native plants are adapted to local conditions and can often thrive on natural rainfall alone.
Finally, don’t forget to enjoy the process! Gardening is as much about the journey as it is about the destination. Take the time to observe the wildlife that visits your garden, and consider how your efforts contribute to a healthier environment. By creating a native plant garden, you’re not just beautifying your space; you’re making a positive impact on your local ecosystem.
- What are the benefits of creating a native plant garden?
Native plant gardens require less maintenance, conserve water, and support local wildlife. - How do I know which native plants to choose?
Research local species through gardening clubs or native plant societies to find plants suited to your area. - Can I mix native plants with non-native ones?
While it’s possible, it’s best to focus on native plants to maximize ecological benefits and reduce maintenance. - How often should I water my native plant garden?
Initially, water them regularly until established, but many native plants can thrive on rainfall alone once settled.

Water-Efficient Gardening Techniques
When it comes to gardening, water efficiency is not just a buzzword; it’s a vital practice that can make a significant difference in your garden's health and the planet's well-being. By adopting , you can drastically reduce your water usage while still nurturing a beautiful and thriving garden. Imagine your garden flourishing with vibrant plants, all while using less water than you ever thought possible! Let's dive into some practical methods that can help you achieve this.
One of the most effective ways to conserve water is through mulching. Mulch acts as a protective layer over the soil, reducing evaporation and keeping moisture locked in. Not only does it help your plants stay hydrated, but it also suppresses weeds, which can compete for water and nutrients. There are various types of mulch you can use, such as organic options like straw, wood chips, or grass clippings, and inorganic choices like gravel or landscape fabric. Each type has its own set of benefits, and the right choice often depends on your specific garden needs.
Another fantastic technique is drip irrigation. This method delivers water directly to the roots of your plants, minimizing waste and ensuring that every drop counts. Unlike traditional sprinklers, which can lead to overspray and evaporation, drip irrigation systems are designed to be efficient and targeted. Setting up a drip irrigation system might seem daunting, but once you get the hang of it, it’s as easy as pie! You can customize it to fit the unique layout of your garden, ensuring that each plant gets the right amount of water it needs to thrive.
Additionally, consider implementing rainwater harvesting techniques. Capturing rainwater is not only eco-friendly but also a smart way to reduce your dependency on municipal water supplies. By installing a rain barrel, you can collect rainwater from your roof and use it to water your garden. This practice not only conserves water but also helps to reduce runoff and erosion in your landscape. If you're feeling adventurous, you can even create a rain garden—a specially designed area that captures and absorbs rainwater runoff, enhancing your garden's beauty while promoting water conservation.
Incorporating these water-efficient gardening techniques can transform your garden into a sustainable oasis. You’ll be amazed at how much water you can save while still enjoying a lush and vibrant landscape. So, why not give these methods a try? Your plants—and the environment—will thank you!
- What is the best type of mulch for water conservation? Organic mulches like straw or wood chips are excellent for retaining moisture and improving soil health.
- How much water can I save with drip irrigation? Drip irrigation can reduce water usage by up to 50% compared to traditional watering methods.
- Can I collect rainwater in any container? Yes, but it's best to use a designated rain barrel that has a lid to prevent mosquito breeding.
- What plants are best for a rain garden? Choose native plants that thrive in wet conditions, such as swamp milkweed or blue flag iris.

Soil Management for Water Retention
Soil management plays a pivotal role in water conservation, especially in gardening. Healthy soil acts like a sponge, soaking up water and retaining it for plants to use over time. If you think about your garden soil as a bank account, the more you invest in its health, the more "water wealth" you can draw from it during dry spells. By enhancing soil structure and fertility, you can significantly improve its moisture retention capabilities, ensuring that your plants thrive even in the face of drought.
One of the most effective ways to manage soil for water retention is through the addition of organic matter. This could be in the form of compost, well-rotted manure, or other organic materials. These amendments not only improve soil structure but also increase its capacity to hold moisture. When organic matter decomposes, it creates a sponge-like texture that can hold onto water while still allowing for proper drainage. This balance is crucial because too much water can lead to root rot, while too little can stress plants.
Another important aspect of soil management is maintaining a healthy soil pH level. Different plants thrive in different pH ranges, and understanding this can help you choose the right plants for your garden. A soil pH that is too high or too low can affect nutrient availability, which ultimately impacts plant health and water usage. Regular soil testing can help you monitor pH levels and make necessary adjustments.
To further enhance soil moisture retention, consider implementing the following practices:
- Mulching: Adding a layer of organic mulch on top of your garden beds can significantly reduce evaporation. It acts as a protective barrier, keeping the soil cool and moist.
- Cover Crops: Planting cover crops during the off-season not only prevents soil erosion but also helps improve soil structure and fertility, leading to better water retention.
- Crop Rotation: Rotating your crops can enhance soil health by preventing nutrient depletion and promoting a diverse microbial ecosystem.
In summary, effective soil management is essential for water retention in your garden. By focusing on improving soil structure, adding organic matter, maintaining proper pH levels, and implementing practices like mulching and cover cropping, you can create a thriving garden that uses water efficiently. Remember, a well-managed soil is the foundation of a sustainable garden, ensuring your plants have the resources they need to flourish.
Q: How can I tell if my soil is retaining enough moisture?
A: You can perform a simple test by digging a small hole in your garden and checking the moisture level. If the soil feels dry several inches below the surface, it may need more organic matter or mulch.
Q: What type of mulch is best for water retention?
A: Organic mulches such as straw, wood chips, or shredded leaves are excellent choices as they not only reduce evaporation but also improve soil structure as they decompose.
Q: How often should I test my soil for pH levels?
A: It's recommended to test your soil at least once a year, especially before planting seasons, to ensure optimal conditions for your plants.
Composting for Soil Health
Composting is not just a trendy gardening technique; it’s a game-changer for soil health and water conservation. When you compost, you’re essentially turning kitchen scraps and yard waste into black gold—a nutrient-rich organic matter that improves soil structure and enhances its ability to retain moisture. Think of it as giving your soil a much-needed boost, much like how a good meal can energize your body. By enriching your soil with compost, you create a more resilient garden that can withstand dry spells and reduce the need for frequent watering.
So, how does composting work its magic? When organic materials decompose, they break down into humus, which is a vital component of healthy soil. This process not only adds nutrients but also improves soil aeration and drainage. As a result, composted soil can hold more water, making it less susceptible to drought conditions. It’s like giving your plants a hydration station right at their roots!
To get started with composting, you don’t need to invest in fancy equipment. A simple compost bin or even a designated corner in your yard will do. Just remember, successful composting involves a balance of green materials (like fruit and vegetable scraps, coffee grounds, and grass clippings) and brown materials (such as dried leaves, cardboard, and straw). Here’s a quick breakdown of what to include:
| Green Materials | Brown Materials |
|---|---|
| Fruit and vegetable scraps | Dried leaves |
| Coffee grounds | Cardboard |
| Grass clippings | Straw |
| Eggshells | Pine needles |
Once you have your materials, layer them in your compost bin, ensuring a good mix. Turn the pile regularly to aerate it and speed up the decomposition process. In a few months, you’ll have rich, dark compost ready to be added to your garden beds, enriching your soil and promoting healthy plant growth.
Not only does composting improve soil health, but it also helps reduce waste. Instead of sending organic materials to the landfill, where they contribute to greenhouse gas emissions, you’re recycling them into something beneficial. It’s a win-win situation that promotes sustainability and fosters a healthier ecosystem.
In conclusion, composting is a simple yet effective way to enhance soil health while conserving water. By incorporating compost into your gardening routine, you’re not just improving your plants’ resilience; you’re also playing a vital role in protecting the environment. So, roll up your sleeves, gather those scraps, and start composting today!
- What can I compost? You can compost fruit and vegetable scraps, coffee grounds, eggshells, grass clippings, dried leaves, and more. Avoid meat, dairy, and oily foods.
- How long does it take to make compost? Typically, it takes about 3 to 6 months to produce finished compost, depending on the materials used and how often you turn the pile.
- Can I compost in an apartment? Yes! You can use a small compost bin or even a worm bin (vermicomposting) to compost indoors.
- How do I know when my compost is ready? Finished compost will be dark, crumbly, and have an earthy smell. It should no longer resemble the original materials.
Using Mulch
Mulching is one of the most effective techniques for conserving water in your garden. Imagine your garden as a sponge; when it’s dry, it soaks up water, but without the right conditions, it can quickly lose moisture. By applying mulch, you create a protective layer that helps retain that precious moisture, keeping your plants hydrated and thriving. Not only does mulch reduce evaporation, but it also suppresses weeds, which compete with your plants for water and nutrients. It's like giving your garden a cozy blanket that keeps it warm and snug!
There are several types of mulch you can choose from, each with its unique benefits. Organic mulches, such as wood chips, straw, or grass clippings, break down over time, enriching the soil with nutrients. In contrast, inorganic mulches, like gravel or landscape fabric, provide long-lasting coverage without adding organic matter. Here’s a quick comparison:
| Type of Mulch | Benefits | Considerations |
|---|---|---|
| Organic | Improves soil health, retains moisture | Needs to be replenished regularly |
| Inorganic | Long-lasting, low maintenance | Does not improve soil quality |
When applying mulch, aim for a thickness of 2 to 4 inches. This depth is perfect for maximizing moisture retention while allowing air to circulate around your plants' roots. Just be careful not to pile it against the stems or trunks of your plants, as this can lead to rot. Think of it as giving your plants a nice, airy hat instead of a suffocating blanket!
Aside from conserving water, mulch offers additional benefits that can enhance your gardening experience. It moderates soil temperature, keeping the roots cool in the summer and warm in the winter. This temperature regulation is crucial for plant health, especially during extreme weather conditions. Plus, as organic mulches decompose, they attract beneficial organisms like earthworms, which further improve soil structure and fertility.
Incorporating mulch into your gardening routine is a simple yet powerful way to promote water conservation. Whether you’re an experienced gardener or just starting, using mulch can make a significant difference in your garden’s health. So, why not give your plants the gift of mulch? Your garden will thank you!
- What is the best type of mulch for water conservation? Organic mulches like wood chips or straw are excellent for retaining moisture while enriching the soil.
- How often should I replenish my mulch? Organic mulches should be replenished every year or as needed, while inorganic mulches can last for several years.
- Can I use mulch around all types of plants? Yes, but be cautious not to pile mulch directly against the stems or trunks to prevent rot.
Implementing Drip Irrigation Systems
Drip irrigation systems are a game-changer for anyone looking to conserve water while nurturing their garden. Imagine a method that delivers water directly to the roots of your plants, minimizing waste and ensuring that every drop counts. This technique is not just efficient; it’s also incredibly effective in promoting healthy plant growth. By using a network of tubing and emitters, drip irrigation allows for precise control over water delivery, which is especially crucial during dry spells. But how do you implement such a system in your own garden? Let’s break it down.
First off, the beauty of drip irrigation lies in its adaptability. Whether you have a small vegetable patch or a sprawling flower garden, you can tailor a drip system to fit your specific needs. To get started, you’ll need to assess your garden layout and determine the water requirements of your plants. Different plants have different needs, so understanding this will help you design an effective system. For instance, leafy greens might need more frequent watering compared to drought-resistant succulents.
Once you have a clear idea of your garden's layout and the water needs of your plants, it’s time to gather the necessary materials. The basic components of a drip irrigation system include:
- Drip tubing or hose
- Emitters or drippers
- Connectors and stakes
- A filter and pressure regulator
With these materials in hand, you can begin the installation process. Start by laying out the tubing along the rows or around the base of your plants. It’s essential to position the emitters close to the root zones of the plants. This ensures that the water penetrates the soil where it’s needed most. You can use stakes to hold the tubing in place and connectors to create a custom layout that suits your garden's unique shape.
After installation, it’s time to test your system. Turn on the water supply and check for any leaks or blockages. Adjust the emitters to control the flow rate, ensuring that each plant receives the right amount of water. Regular monitoring is crucial, especially during the initial phase, to ensure that everything is functioning correctly. This proactive approach not only conserves water but also promotes a thriving garden.
But what happens when your drip irrigation system is up and running? Maintenance is key to ensuring its longevity and efficiency. Regularly check for clogged emitters, as these can disrupt the water flow and lead to uneven watering. Additionally, consider seasonal adjustments. During cooler months, you may need to reduce the watering frequency, while hotter months may require a bit more water to keep your plants hydrated.
In summary, implementing a drip irrigation system is a fantastic way to conserve water and promote plant health. With careful planning, the right materials, and ongoing maintenance, you can create a water-efficient garden that flourishes while minimizing your environmental impact. So, why not give it a try? Your plants (and the planet) will thank you!
Q: How much water can I save with a drip irrigation system?
A: Many gardeners report saving up to 50% more water compared to traditional irrigation methods, as drip systems deliver water directly to the roots where it’s needed.
Q: Can I use a drip irrigation system for container plants?
A: Absolutely! Drip irrigation can be easily adapted for container gardening by using smaller emitters and tubing designed for pots.
Q: How often should I water my plants with a drip system?
A: It varies depending on the plant type and climate, but generally, deep watering once or twice a week is effective for most garden plants.
Designing a Drip Irrigation System
Designing a drip irrigation system can seem daunting at first, but once you break it down into manageable steps, you'll find it’s a straightforward process that can significantly enhance your garden's water efficiency. Imagine being able to water your plants directly at their roots, ensuring they get the moisture they need without wasting a drop! This method not only conserves water but also promotes healthier plant growth by reducing the risk of fungal diseases that can occur when foliage is wet. So, let’s dive into how you can create your very own drip irrigation system.
First and foremost, you need to assess your garden's layout. Walk through your space and take note of the various plants you have, their water requirements, and the sun exposure they receive. This information will help you determine how much water each section of your garden needs. You can even sketch a simple map of your garden, marking the locations of different plants and their watering needs.
Once you have a clear understanding of your garden, it’s time to gather the necessary materials. Here’s a basic list of what you’ll need:
- Drip tubing: This is the main line that will carry water to your plants.
- Emitters: These are the devices that deliver water directly to the soil around your plants.
- Connectors and stakes: To secure your tubing in place and connect different sections.
- A filter: This will help keep your system free from debris that could clog the emitters.
- A pressure regulator: This is essential for maintaining the correct water pressure in your system.
With your materials ready, you can start laying out the drip tubing. Begin at your water source and run the tubing along the rows or areas where your plants are situated. Make sure to position the emitters close to the root zones of each plant. This targeted approach minimizes water waste, allowing your plants to absorb moisture efficiently. You can adjust the number of emitters per plant based on their specific water needs; for instance, larger plants may require two emitters while smaller ones might only need one.
After laying out the tubing and emitters, it’s crucial to test your system. Turn on the water and check for any leaks or blockages. Adjust the emitters as needed to ensure each plant is receiving the right amount of water. Regularly monitoring your system will help you catch any issues early on, ensuring your garden remains hydrated and healthy.
Finally, consider incorporating a timer into your drip irrigation system. A timer can automate watering schedules, providing your plants with consistent moisture without the need for you to remember to turn the system on and off. This is particularly useful during hot summer months when plants may need more frequent watering.
In summary, designing a drip irrigation system is not only a smart way to conserve water, but it also promotes a thriving garden. By following these steps and regularly maintaining your system, you can create an efficient watering solution that benefits both your plants and the environment.
Q: How often should I water my garden using a drip irrigation system?
A: The frequency of watering depends on your plant types, soil conditions, and weather. Generally, it’s best to water deeply and less frequently to encourage deep root growth.
Q: Can I use a drip irrigation system for all types of plants?
A: Yes! Drip irrigation is versatile and can be used for various plants, including vegetables, flowers, and shrubs. Just ensure that you adjust the emitters according to each plant's water needs.
Q: How do I winterize my drip irrigation system?
A: To winterize your system, turn off the water supply, drain the lines, and remove any filters or emitters to prevent freezing and damage during cold months.
Maintaining Your Drip System
Maintaining your drip irrigation system is crucial for ensuring its longevity and efficiency. Just like any other part of your garden, your drip system requires regular check-ups to function optimally. Imagine your drip system as a well-oiled machine; if one part isn’t working correctly, the entire system can falter. So, what should you focus on to keep your system in top condition?
First and foremost, regular inspections are key. You should check your system at least once a month, especially during the growing season. Look for any signs of wear and tear, such as cracked tubing or clogged emitters. If you notice any leaks, it’s essential to address them promptly, as even a small leak can lead to significant water loss over time.
Another important aspect of maintenance is cleaning the filters. Most drip systems come equipped with filters to prevent debris from clogging the emitters. Over time, these filters can become clogged themselves, which can restrict water flow. To clean them, simply remove the filter, rinse it under running water, and replace it. This simple task can significantly improve the efficiency of your irrigation system.
In addition to these checks, seasonal adjustments are also necessary. As the seasons change, so do the water requirements of your plants. During hot summer months, you might need to increase the watering schedule, while in cooler months, you can reduce it. This adaptability not only conserves water but also promotes healthier plant growth.
Lastly, don't forget to winterize your drip system if you live in an area with freezing temperatures. This involves draining the system to prevent water from freezing in the lines, which can cause cracks and leaks. A little preparation goes a long way in preserving your investment and ensuring your garden thrives year after year.
To summarize, maintaining your drip irrigation system involves:
- Regular inspections for leaks and wear.
- Cleaning filters to ensure proper water flow.
- Adjusting watering schedules based on seasonal needs.
- Winterizing the system to prevent damage from freezing temperatures.
By following these maintenance tips, you can ensure that your drip irrigation system remains efficient and effective, helping you conserve water and keep your garden flourishing.
Q1: How often should I check my drip irrigation system?
A1: It's recommended to check your system at least once a month, especially during the growing season, to ensure everything is functioning properly.
Q2: What should I do if I find a leak in my drip system?
A2: Address leaks immediately by repairing or replacing the damaged parts. Even small leaks can lead to significant water loss over time.
Q3: How can I tell if my emitters are clogged?
A3: If you notice that some plants are not receiving adequate water, it may indicate clogged emitters. You can check by removing the emitter and rinsing it under water.
Q4: Do I need to adjust my watering schedule?
A4: Yes, it's essential to adjust your watering schedule based on seasonal changes and the specific needs of your plants.
Q5: What is the best way to winterize my drip system?
A5: To winterize, drain all the water from the system to prevent freezing, and store any removable parts indoors if possible.
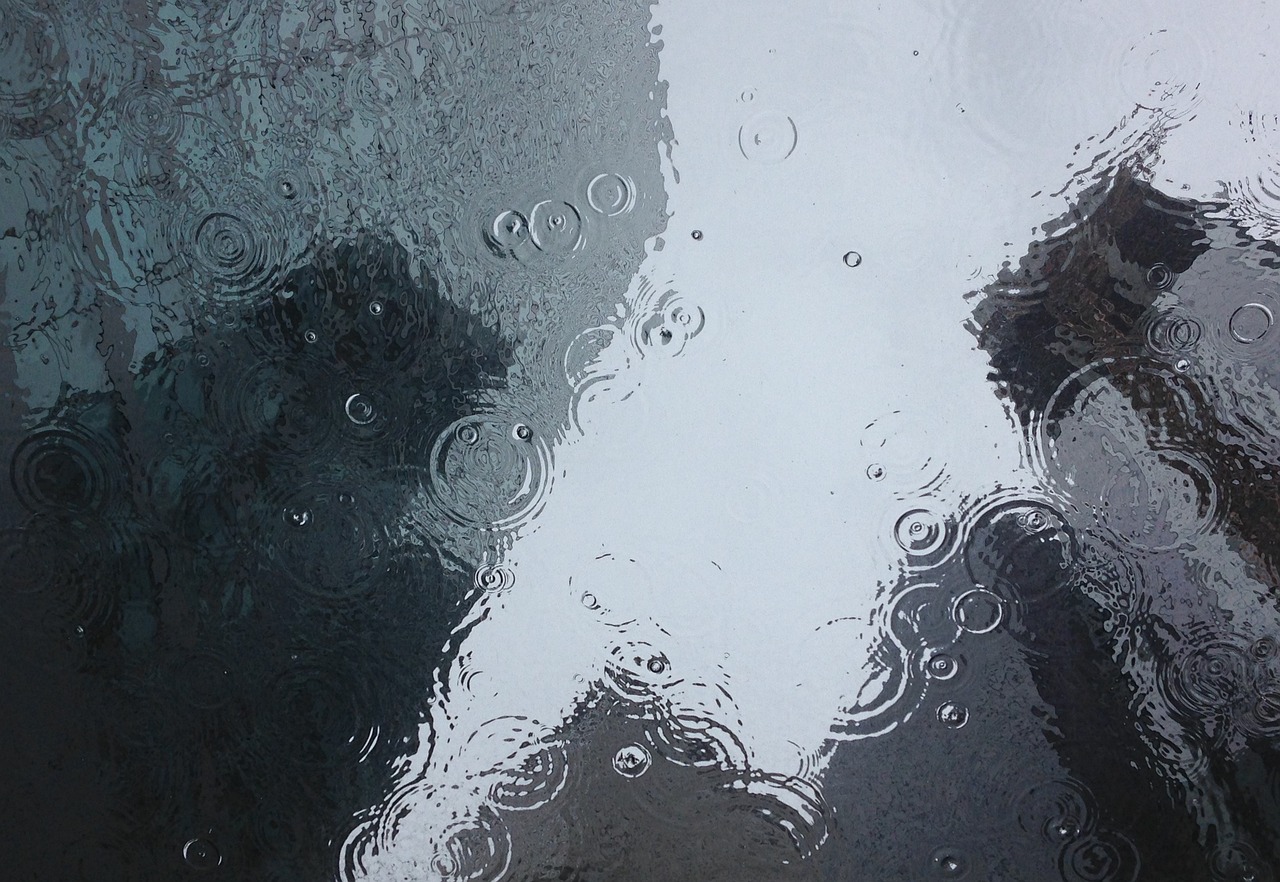
Rainwater Harvesting Techniques
Rainwater harvesting is an innovative and sustainable method of collecting and utilizing rainwater for gardening purposes. In an era where water scarcity is becoming increasingly prevalent, this technique not only helps conserve precious water resources but also reduces the dependency on municipal water supplies. Imagine being able to capture the rain that falls on your roof and use it to nourish your plants! It’s like giving Mother Nature a helping hand while simultaneously benefiting your garden. In this section, we will explore various methods and systems for effectively capturing and using rainwater, ensuring your garden remains vibrant and water-efficient.
One of the simplest and most effective ways to harvest rainwater is by using a rain barrel. A rain barrel collects runoff from your roof, directing it through a downspout to a storage container. This stored water can then be used during dry spells, making it a valuable resource for maintaining your garden. Setting up a rain barrel is straightforward: you just need a barrel, a downspout diverter, and some basic tools. By installing a rain barrel, you can save up to 1,300 gallons of water during a typical rainy season, which can significantly reduce your water bill!
In addition to rain barrels, another fantastic method for rainwater harvesting is the creation of rain gardens. Rain gardens are specially designed landscapes that capture and absorb rainwater runoff from impervious surfaces like driveways and roofs. These gardens not only help manage stormwater but also enhance the aesthetic appeal of your yard. A well-planned rain garden can be a beautiful habitat for local wildlife, attracting birds and butterflies while filtering pollutants from the water before it enters the groundwater system.
To create a rain garden, consider the following steps:
- Choose the Right Location: Select a spot that receives runoff from your roof or driveway but is away from your house’s foundation.
- Design the Garden: Plan the size and shape of your rain garden, ensuring it can hold a sufficient amount of water without flooding.
- Select Native Plants: Choose plants that thrive in your local climate and can tolerate both wet and dry conditions.
- Prepare the Soil: Amend the soil to improve drainage and ensure it can absorb water effectively.
Implementing these rainwater harvesting techniques not only conserves water but also promotes a more sustainable gardening practice. By capturing and utilizing rainwater, you are not just watering your plants; you are actively participating in the preservation of your local ecosystem. This practice can significantly reduce the strain on local water resources, especially during dry spells, and can help mitigate flooding in urban areas.
1. What is rainwater harvesting?
Rainwater harvesting involves collecting and storing rainwater for future use, particularly for irrigation and gardening. It can help reduce water bills and promote sustainability.
2. Do I need a permit to install a rain barrel?
In most areas, you do not need a permit to install a rain barrel, but it’s always best to check with your local regulations.
3. Can I use harvested rainwater for drinking?
While rainwater can be collected for various uses, it is essential to filter and treat it properly if you intend to use it for drinking or cooking.
4. How much water can I collect from a rain barrel?
The amount of water collected depends on the size of your roof and the size of the rain barrel. A standard rain barrel can hold about 50 to 100 gallons, and with sufficient rainfall, you can fill it multiple times throughout the season.
By incorporating rainwater harvesting techniques into your gardening routine, you can create a thriving, eco-friendly garden that not only flourishes but also contributes positively to the environment.
Setting Up a Rain Barrel
Setting up a rain barrel is a fantastic way to conserve water while also nurturing your garden with a sustainable water source. Imagine capturing the very rain that falls from the sky and using it to nourish your plants! It's like giving Mother Nature a high-five. The process is straightforward, and with just a few tools and some effort, you can create a system that benefits both your garden and the environment.
First things first, you’ll need a rain barrel. These barrels come in various sizes and materials, but the most common are plastic or wooden barrels. A typical size is around 50 to 100 gallons, which can store a significant amount of water. Before you purchase one, consider the space available in your garden and how much water you might need during dry spells.
Once you've got your rain barrel, the next step is to choose a location. Ideally, you want to place it under a downspout from your roof. This way, when it rains, the water flows directly into the barrel. Make sure the area is level and stable, as a filled barrel can be quite heavy. You might also want to elevate the barrel slightly on bricks or a wooden platform. This elevation makes it easier to fill watering cans or connect a hose.
Now, let’s talk about the actual setup. Here’s a simple step-by-step guide:
- 1. Disconnect the downspout from the gutter system where you want to place the barrel.
- 2. Cut the downspout to the appropriate height to allow water to flow into the barrel.
- 3. Attach a flexible downspout extension if necessary, to direct the water into the barrel.
- 4. Ensure the barrel has a lid to prevent debris and mosquitoes from entering.
- 5. Install a spigot near the bottom of the barrel for easy access to the water.
After everything is set up, it’s time to wait for the rain! When the barrel fills, you’ll have a ready supply of water for your garden. Just remember to check the barrel regularly and use the water efficiently. You might even want to consider connecting multiple barrels for larger gardens or during particularly rainy seasons.
In addition to being practical, rain barrels can also enhance the beauty of your garden. Many barrels come in attractive designs, or you can paint them to match your outdoor decor. Plus, by using rainwater, you’re reducing your reliance on municipal water systems, which is a win-win for both your wallet and the environment.
So there you have it! Setting up a rain barrel is not just a practical solution for watering your garden; it’s also a step towards a more sustainable lifestyle. You’re not just collecting water; you’re embracing a greener way of living. Now, let’s dive into some frequently asked questions to help you get started on your rainwater harvesting journey!
Q: How much water can I expect to collect?
A: The amount of water you can collect depends on the size of your roof and the amount of rainfall. A 1,000 square foot roof can yield about 600 gallons of rainwater from just one inch of rainfall!
Q: Do I need a filter for my rain barrel?
A: While not mandatory, a filter can help keep debris out of your barrel, ensuring cleaner water for your plants.
Q: Can I use rainwater for drinking?
A: It’s generally not recommended to drink rainwater collected in barrels unless you have a proper filtration and purification system in place.
Q: How do I maintain my rain barrel?
A: Regularly check for debris, clean the spigot, and ensure that the downspout is clear to maximize your water collection.
Rain Gardens
Rain gardens are not just a trendy gardening technique; they are a powerful solution for managing stormwater runoff while adding beauty to your landscape. Imagine a garden that not only flourishes with vibrant plants but also plays a crucial role in preserving our water resources. A rain garden is designed to capture and absorb rainwater runoff from impervious surfaces like roofs, driveways, and sidewalks. This method helps reduce the amount of water that flows into storm drains, which can lead to flooding and pollution in local waterways.
Creating a rain garden is akin to building a sponge in your yard. When it rains, instead of allowing water to rush away, your garden soaks it up, filtering out pollutants and replenishing the groundwater. This natural filtration process is immensely beneficial for the environment. By planting native species in your rain garden, you not only enhance biodiversity but also create a habitat for local wildlife, including birds, butterflies, and beneficial insects.
To set up a rain garden, you’ll want to select a suitable location that captures runoff effectively. Ideally, this should be a low-lying area where water naturally collects. The size of your rain garden will depend on the amount of runoff you expect to manage. A general rule of thumb is to make your garden about 20% of the area that drains into it. For example, if your roof collects rainwater from a 1,000 square foot area, your rain garden should be about 200 square feet.
When choosing plants for your rain garden, consider a mix of deep-rooted native plants that can tolerate both wet and dry conditions. These plants help improve soil structure and enhance water absorption. Here’s a quick list of popular native plants you might consider:
- Black-eyed Susan - A hardy perennial that attracts pollinators.
- Blue Flag Iris - Thrives in wet conditions and adds stunning color.
- Swamp Milkweed - Supports monarch butterflies and other pollinators.
- Joe Pye Weed - A tall perennial that loves moisture and provides habitat.
As you design your rain garden, consider incorporating features like boulders or logs to create visual interest and help slow down water flow. Mulching is also essential, as it helps retain moisture and suppress weeds. The use of organic mulch, such as wood chips or shredded bark, can be particularly effective in maintaining a healthy environment for your plants.
In summary, rain gardens are a fantastic way to combine functionality with beauty in your landscape. They not only help manage stormwater but also promote biodiversity and enhance the aesthetic appeal of your yard. By investing a little time and effort into creating a rain garden, you’re contributing to a sustainable future while enjoying the benefits of a vibrant, eco-friendly space.
1. What is the best location for a rain garden?
The best location is typically a low-lying area where water naturally collects, away from your home's foundation to avoid flooding.
2. How deep should my rain garden be?
A rain garden should generally be about 6 to 12 inches deep, depending on the soil type and the amount of runoff you expect.
3. Can I use non-native plants in my rain garden?
While you can use non-native plants, it's best to stick with native species as they are adapted to local conditions and support local wildlife.
4. How often will I need to maintain my rain garden?
Maintenance is minimal, but you should monitor for weeds and ensure that your plants are thriving, especially during dry spells.
Frequently Asked Questions
- What are eco-friendly gardening techniques?
Eco-friendly gardening techniques are practices that promote sustainability, reduce environmental impact, and conserve resources like water. These techniques include using native plants, implementing efficient irrigation systems, and improving soil health.
- Why is water conservation important in gardening?
Water conservation is crucial in gardening as it helps preserve local ecosystems, reduces water waste, and ensures that plants receive the moisture they need to thrive. By using water-efficient methods, gardeners can contribute to a more sustainable environment.
- How do native plants contribute to water conservation?
Native plants are adapted to local climates and require less water compared to non-native species. They thrive in their natural environment, reducing the need for additional irrigation and supporting local wildlife, which enhances biodiversity.
- What are some effective water-efficient gardening techniques?
Some effective techniques include mulching to reduce evaporation, using drip irrigation to deliver water directly to plant roots, and harvesting rainwater for irrigation. These methods help manage water usage effectively and promote plant health.
- How can I improve my soil for better water retention?
Improving soil for better water retention can be achieved through practices like composting, which adds organic matter, and using mulch to cover the soil. These methods enhance soil structure and fertility, allowing it to hold moisture more effectively.
- What is a drip irrigation system and how does it work?
A drip irrigation system is a method that delivers water directly to the roots of plants through a network of tubes and emitters. This minimizes water waste and ensures that plants receive the right amount of moisture, making it a highly efficient watering method.
- How do I set up a rain barrel for rainwater harvesting?
Setting up a rain barrel involves placing a barrel under a downspout to collect rainwater from your roof. Ensure that the barrel has a lid to prevent debris and mosquitoes from entering. This collected water can then be used for irrigation, reducing reliance on municipal water supply.
- What is a rain garden and how does it work?
A rain garden is a specially designed garden that captures and absorbs rainwater runoff from impervious surfaces like driveways and roofs. It typically consists of native plants that thrive in wet conditions, helping to filter pollutants and recharge groundwater while promoting water conservation.


